
Pre-Long-Journey Vehicle Check: What to Inspect Before You Set Off
A practical pre-trip checklist covering tyres, fluids, lights, brakes, and load to help you set off with confidence.
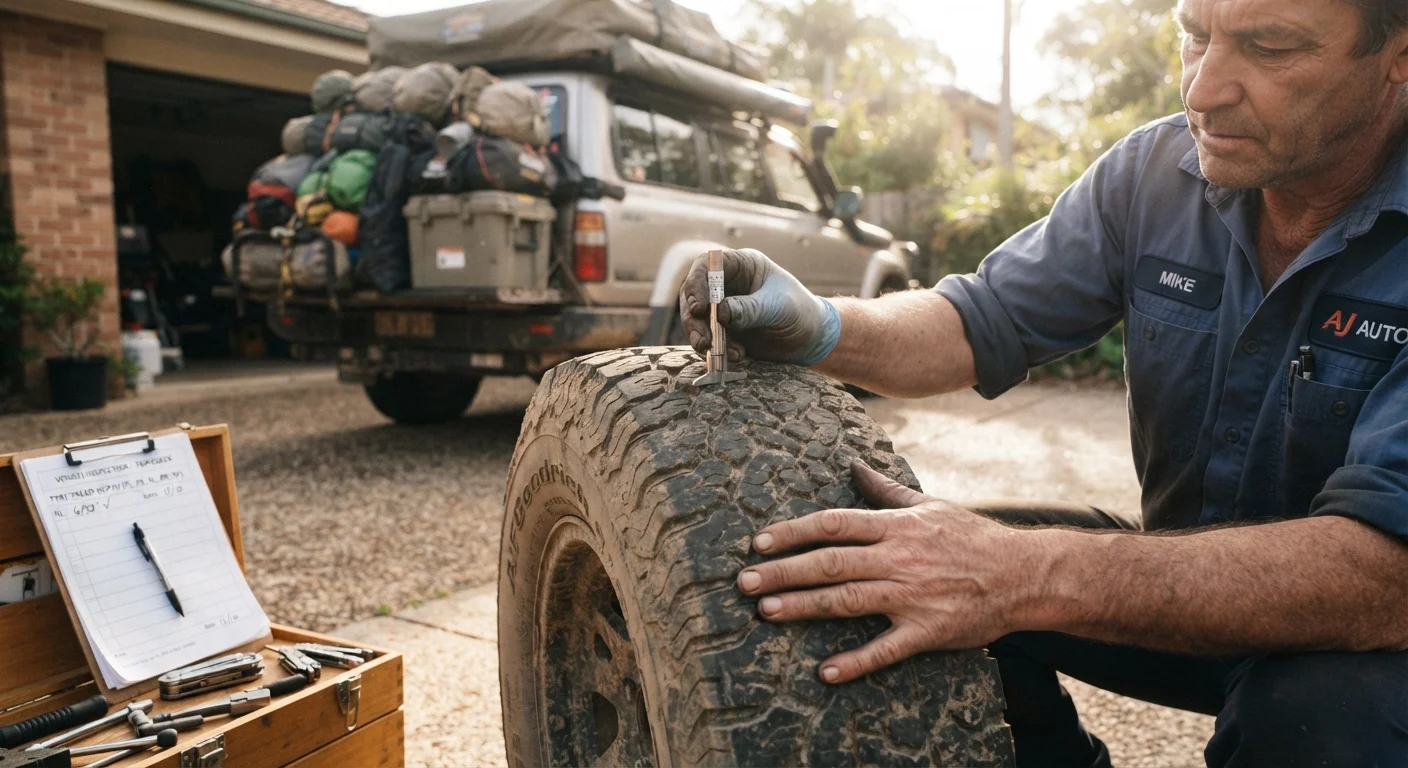
Photo: CoralScripts.com | Explore, Discover, Engage editorial
—— In This Article
Key Takeaways
- Tyre pressure and tread depth are the most critical safety checks before any long drive.
- Fluid levels - oil, coolant, brake fluid, and washer fluid - should all be verified cold.
- All exterior lights must function correctly; carry spare bulbs for older vehicles.
- Brake feel and pad thickness estimates matter more than mileage intervals on long hauls.
- Load distribution and cargo security directly affect handling and stopping distance.
- A pre-trip inspection takes under an hour but can prevent hours of roadside delay.
Why a Pre-Trip Inspection Is Non-Negotiable
Long highway miles expose mechanical weaknesses that short commutes hide. A worn tyre that holds pressure fine at 35 mph may develop a blowout at sustained freeway speeds. A slow coolant leak that never triggers a warning light on a 15-minute errand can become a crisis after 90 minutes in summer heat. The pre-trip inspection exists to surface these risks before they become roadside emergencies.
This checklist pairs well with the broader planning work covered in the pre-trip preparation checklist, which handles documents, bookings, and logistics. The vehicle check below focuses exclusively on what's under, around, and inside your car. Work through it the day before departure - not the morning of - so any issues discovered can be addressed without time pressure.
Tyres
Fluids
Lights and Visibility
Brakes and Steering
Under the Hood and Engine Bay
Cargo and Interior Readiness
Tools You'll Need for the Inspection
Most of this checklist requires only basic equipment you likely already own. Having the right tools on hand prevents skipping critical steps.
Tyre pressure gauge
Accurately measures cold inflation pressure in each tyre to compare against the door-jamb specification.
Tread depth gauge
Provides a precise tread depth reading in 32nds of an inch, more reliable than coin tests for borderline tyres.
Flashlight or work light
Illuminates the engine bay, tyre sidewalls, and undercarriage for a thorough visual inspection.
Fluid top-off supplies
Having the correct engine oil grade, coolant mix, and washer fluid on hand allows immediate top-off without a separate store trip.
Microfiber cloths
Used to clean headlight lenses, the windshield interior, and mirrors for maximum visibility.
OBD-II scan tool or app
Reads stored and pending diagnostic trouble codes so you can investigate a Check Engine light before departure rather than guessing.
Special Considerations for Loaded Vehicles and Trailers
Cargo weight changes everything. A roof box, full trunk, or tow trailer shifts your vehicle's center of gravity, increases stopping distance, and alters the load on each tyre. When your vehicle is loaded for departure, check tyre pressures again - many manufacturers specify a higher cold inflation pressure for loaded or maximum-weight conditions, listed on the door jamb placard.
Tyre Pressure Changes When the Vehicle Is Loaded
Tyre pressure readings taken before loading your gear may not reflect the pressures you'll run at highway speed once the vehicle is fully loaded. Check pressures again after packing - and always check cold (before driving more than a mile). Overloaded tyres running underinflated are at elevated risk of heat buildup and tread separation on sustained highway grades.
If you're towing, verify trailer lights, hitch coupler engagement, safety chains, and tongue weight before pulling onto the highway. Confirm that your vehicle's towing capacity - listed in the owner's manual - is not exceeded. Overloaded trailers are a leading cause of sway and jackknife incidents on grades and in crosswind conditions.
For vehicles heading into backcountry or remote terrain, the wilderness area pre-trip checklist adds essential context about road conditions, cell coverage, and emergency contacts that a mechanical inspection alone can't address.
For a broader look at how seasonal conditions affect these same inspection points, see our guide on seasonal vehicle maintenance - heat, cold, and wet roads each shift which items deserve the most scrutiny.
Don't Ignore Active Warning Lights
A dashboard warning light is not a suggestion - it is the vehicle's diagnostic system communicating a detected fault. Driving hundreds of miles with an active Check Engine, ABS, or oil pressure light risks converting a manageable repair into catastrophic component failure. If you cannot determine the cause of an active warning light before your departure date, consult a qualified mechanic rather than hoping it resolves on the road.

Cars & Driving Editorial Team
Cars & Driving Editorial Team is the collective byline for our editorial team and contributor network. Articles published under this byline or an editorial pen name are researched, written, and reviewed according to our editorial standards for clarity, consistency, and independence before publication.
View author profile